How to Prepare for a Cake Smash Session

CaKe SmAsH SeSsIoNs!
The first time I was asked to photograph a cake smash for a first birthday session, I had a moment of panic. My only knowledge of cake smashes included a pretty backdrop, lots of balloons, and a picture perfect cake and doing them for my own children.
Now I know cake smash sessions can vary as much as any other session. With some experience now under my belt, I have compiled my own personal list of “to do’s” and not-to-do’s”.
Outfit & Cake
1. Have the parents decide on 2 outfits in advance
I always talk with the parents in advance of a session to find out what outfit they plan on having their child wear. Often, I will have them text a picture of the outfit. If I don’t think it will photograph well, I offer up other suggestions. It is important to know the outfit ahead of time so that backdrops/props/location can coordinate with the look that the parent is going after. If the parents decide to go for diaper only, a diaper cover is something to consider.
2. The Cake
Talk to the parents ahead of time about the cake. I have the parents purchase the cake so that the cost of the session can be kept down but make sure to communicate some “rules” for choosing the cake. I typically steer clear of bright white frosting as it can be very easy to overexpose. If white frosting is used, it’s nice to break up the white with sprinkles or other decorations. The big “1” candles can come in handy in a photo session. I find that the baby is attracted to it, and it helps keep the baby’s interest in sticking around and smashing that candle into the cake. I also suggest that the parents bring a little toy that the baby will like that they don’t mind gets frosting on it (I will have the baby watch me push this toy into the cake so they go in after it if they are not interested in having cake).
3. Determine location/setting
I do some cake smashes in a studio-type setting in my home, but more often than not, I set up sessions in unexpected places like a client’s kitchen or backyard, next to their garage, or in a city park. Cake smashes require very little room, so good locations are easy to find. What is important is knowing what the client expects for a cake smash. For my very first session that took place in a park, my vision was that we would search around for a grassy shaded area. Instead, I ended up being called over from taking group shots to a cake smash that was already in progress. It was set up in a pavilion with a big cake tin underneath the cake and a sun-spotted lawn in the background. It was too late to try to change anything, so I had to adjust and accept that this would not be very “Pinterest-like”. But, you know what, there’s nothing wrong with reality, either. This set-up allowed me to capture the interaction of the baby and her family. I just learned to bring along pretty cake pans for future sessions and guide the family toward more lighting-friendly spots.
Choose a Backdrop
1. Provide choices of backdrops
A backdrop can range from a wide open grassy space to a studio style session with a backdrop and acrylic floor. When hired to do a cake smash, make sure to find out what style of session the parent wants.
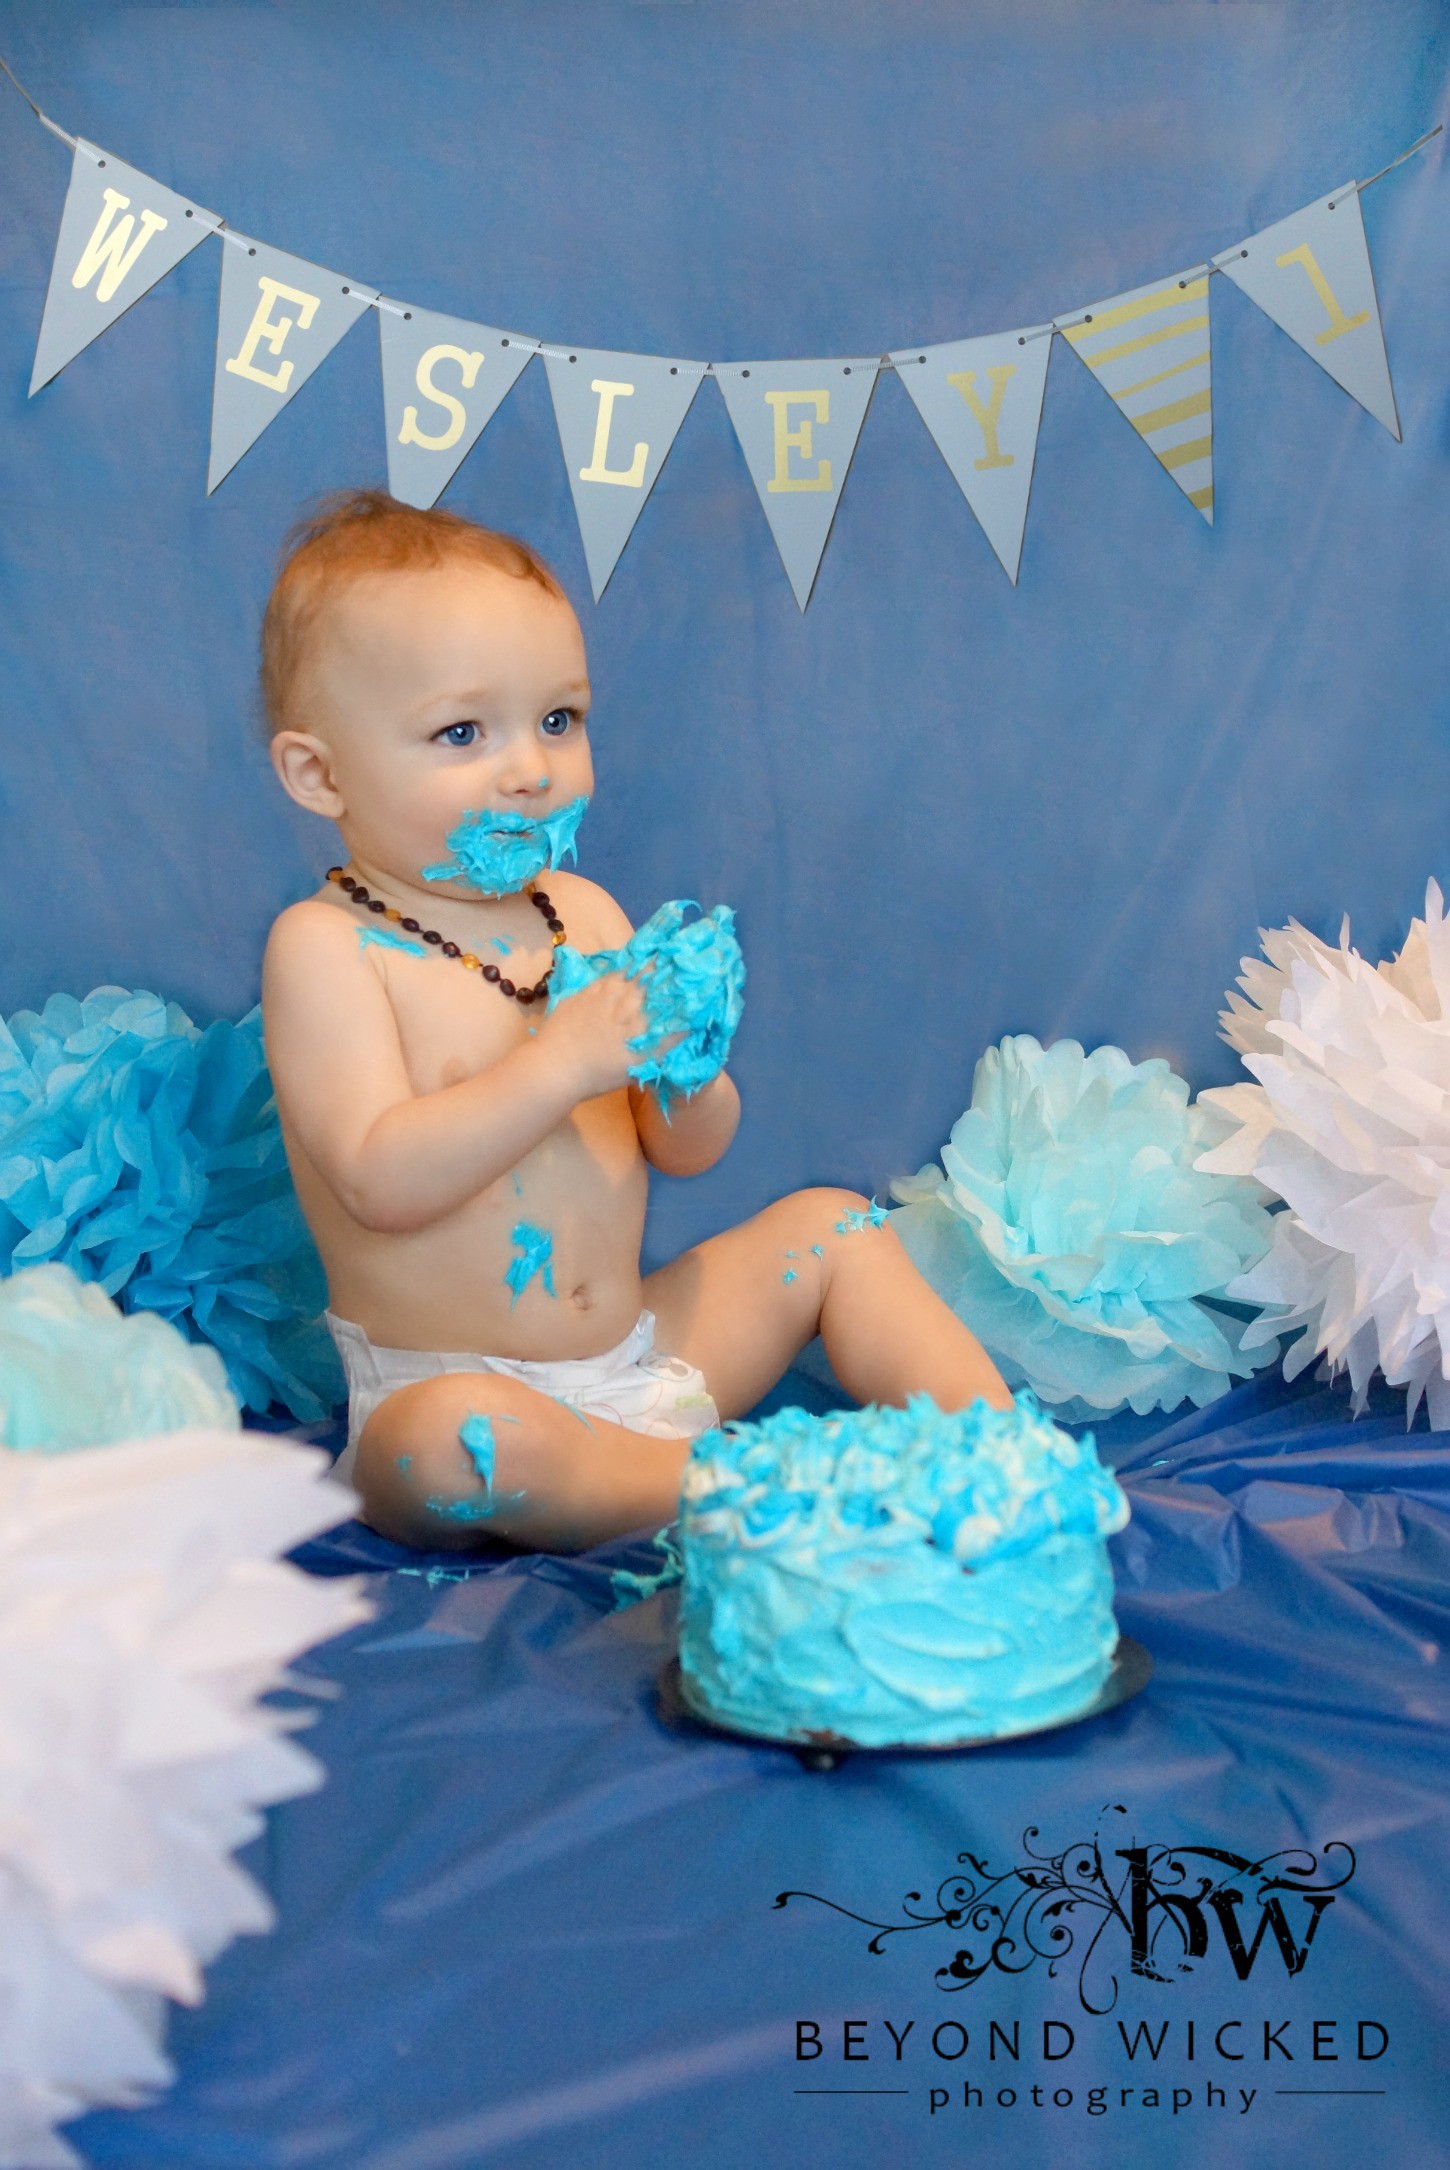
One of my favorite sessions to photograph is the studio cake smash session which can be done with artificial or natural lighting. For these types of sessions, I bring along a choice of backdrops.
When using solid paper, I typically use an acrylic sheet (plexiglass) that I purchased from a local hardware store for around $35. It is easy to blend the seam into the background during post processing. The acrylic keeps the paper in place, and gives a reflection of the baby’s chubby legs.
2. Remove distractions
With birthday parties, it’s not very practical to do a studio style session. Instead, work with the parent to find a spot to set up that is free of distractions. Try to polish the scene a bit with a pretty plate, an uncluttered background, and perhaps a coordinating blanket beneath the baby. I have also been at birthday parties where the parents quickly threw together a cake smash.
3. Keep it simple
A trend with cake smashes is to have lot of balloons, banners, and other nick-nacks in the background. I think some of these are really cute, but I do wonder how it pulls together if a parent wants a storyboard format of the session. My preference is to keep the backdrop simple.
Pre-session:
1. Have clean-up arrangement set up in advance
2. Figure out manual camera settings
3. Take cake-free baby photos
4. Take photos of baby-free cake
I can’t stress enough how important it is to have everything ready to go before bringing the baby/cake combo into the scene. If you shoot in manual at the correct setting, it makes batch editing so much easier. And, batch editing is perfect for this type of session where the scene/lighting does not change. I always shoot in RAW and typically shoot with a narrower aperture and fast shutter speed. For most cake smashes, the baby is very likely to move…fast…so I want to make sure I’m not missing focus. Make sure you are in a good lighting situation whether in open shade or using studio lighting. I usually use a backdrop stand whether for fabric or paper or a plastic drop cloth.
In the pre-session, I place the baby on the scene and test my manual settings and white balance. This is also a chance to grab some “clean baby” photos. Then, without changing settings, I have mom hold the baby while I take photos of the perfect cake. Make sure that the cake isn’t being overexposed at the settings you have chosen. I use the same settings all throughout the session. If the location is chosen carefully, the lighting should remain consistent throughout the session. Using the same setting allows me to edit so much quicker. I’m not suggesting that this will work for everyone, but I have found for me personally that it has cut down on my editing time substantially.
One other preparation note is to have a big beach towel available so that we can wrap the baby up at the end of the session and avoid getting icing on everything.
Session:
1. Involve parents
2. Snap fast…these sessions are short!
3. Use one lens
4. Change perspectives
5. Get details
Once I’m sure all my settings are good to go (aperture, exposure, shutter speed, white balance), the fun begins. For the majority of the cake smashes I’ve done, the action only lasts for about 10 minutes. Usually the parents have to get the fun going by offering up some frosting for the baby to eat. Let them know to feel free to put baby’s hands in the icing if the baby doesn’t have much interest. Quite honestly, most of the babies I’ve photographed haven’t been eager to dig into the cake.
Don’t fret if the baby keeps trying to walk or crawl away. Just have mom or dad place them back and snap away once the parents have cleared the scene. This part of the session is going to fly by! While taking photos, I try to vary the perspective: front, angled, overhead, details (toes, hands, mouth). This prevents a series of similar photos from looking the same. I always try to keep the baby centered on the backdrop. This way if the backdrop doesn’t provide enough coverage, it is easy to add in the backdrop while editing.
Post session:
1. Get ready for candids
2. Clean up can be just as fun as the cake smash.
Usually, I have the parents wrap the baby up in a beach towel and head off to the shower/bath.
I once had a session where they put the baby in a wash tub outside, and this set the scene for some precious shots of the baby getting cleaned up. If outdoors, the hurry to get baby clean isn’t so dire. Many times, the baby just runs around and plays until the set-up is cleared away. A couple candid shots of the baby playing is fun to capture. Even indoors, bathtub photos are an adorable component to add to the session.
Overall just remember to stay calm, and have fun because Cake Smash Sessions are a BLAST! 🙂


